Create a registration page and put the information you entered into the DB
In the last lecture, I practiced outputting the information entered by the post method on another page.
Let's create a member registration page and have the information entered in the member registration form be entered into the DB.
Then create a table to store member information in the DB.
Name the DB myservice and name the table member.
The fields in the table will be ID, Password, Name, Address, Gender, Date of Birth, Email, and Occupation.
Nowadays, membership information is simplified. But since this is for practice, let's put this and that information.
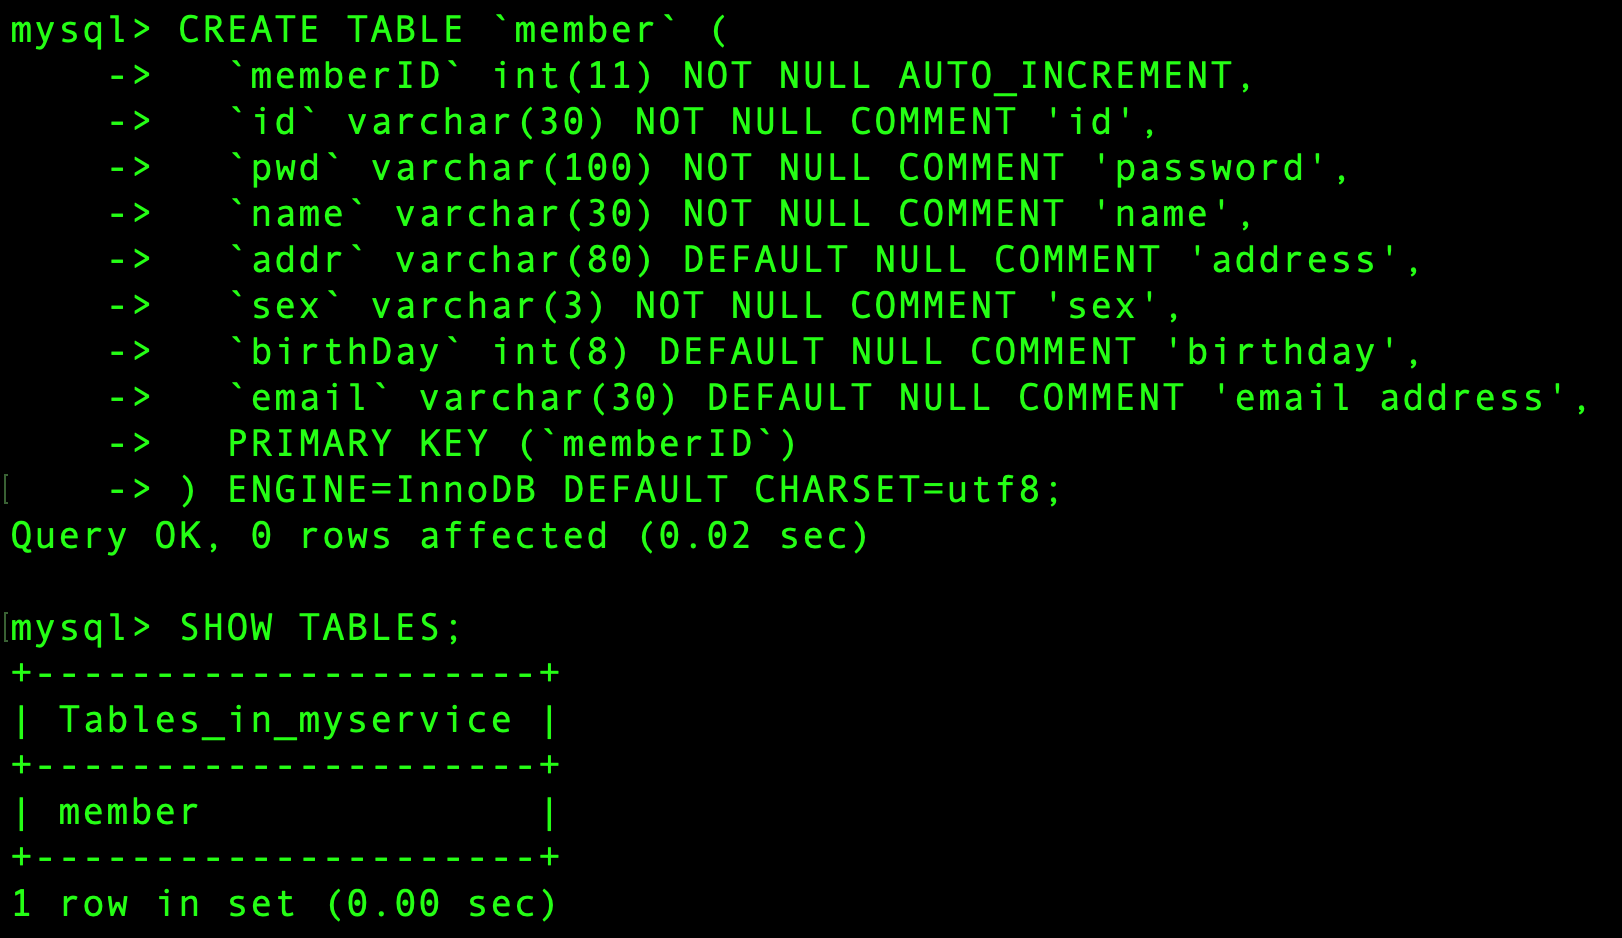
Connect to MySQL to create myservice database and create a table using the following table creation statement.
comment puts a comment about what the field does. You do not have to put it.
not null does not allow null values, that is, empty state.
default If null, no value is entered by default.
If you enter a different value for default, that value becomes the default.
charset = utf8 is important. If not specified, Latin encoding is set.
Since other foreign languages are not displayed properly, it is best to use Unicode.
If you don't know this, it can be a waste of a few days.
Creating DB
CREATE DATABASE myservice;

Select DB
USE myservice;

Creating TABLE
CREATE TABLE `member`(
  `memberID` int(11) NOT NULL AUTO_INCREMENT,
  `id` varchar(30) NOT NULL COMMENT 'id',
  `pwd` varchar(100) NOT NULL COMMENT 'password',
  `name` varchar(30) NOT NULL COMMENT 'name',
  `addr` varchar(80) DEFAULT NULL COMMENT 'address',
  `sex` varchar(3) NOT NULL COMMENT 'sex',
  `birthDay` int(8) DEFAULT NULL COMMENT 'birthday',
  `email` varchar(30) DEFAULT NULL COMMENT 'email address',
  PRIMARY KEY(`memberID`)
) ENGINE=InnoDB DEFAULT CHARSET=utf8;
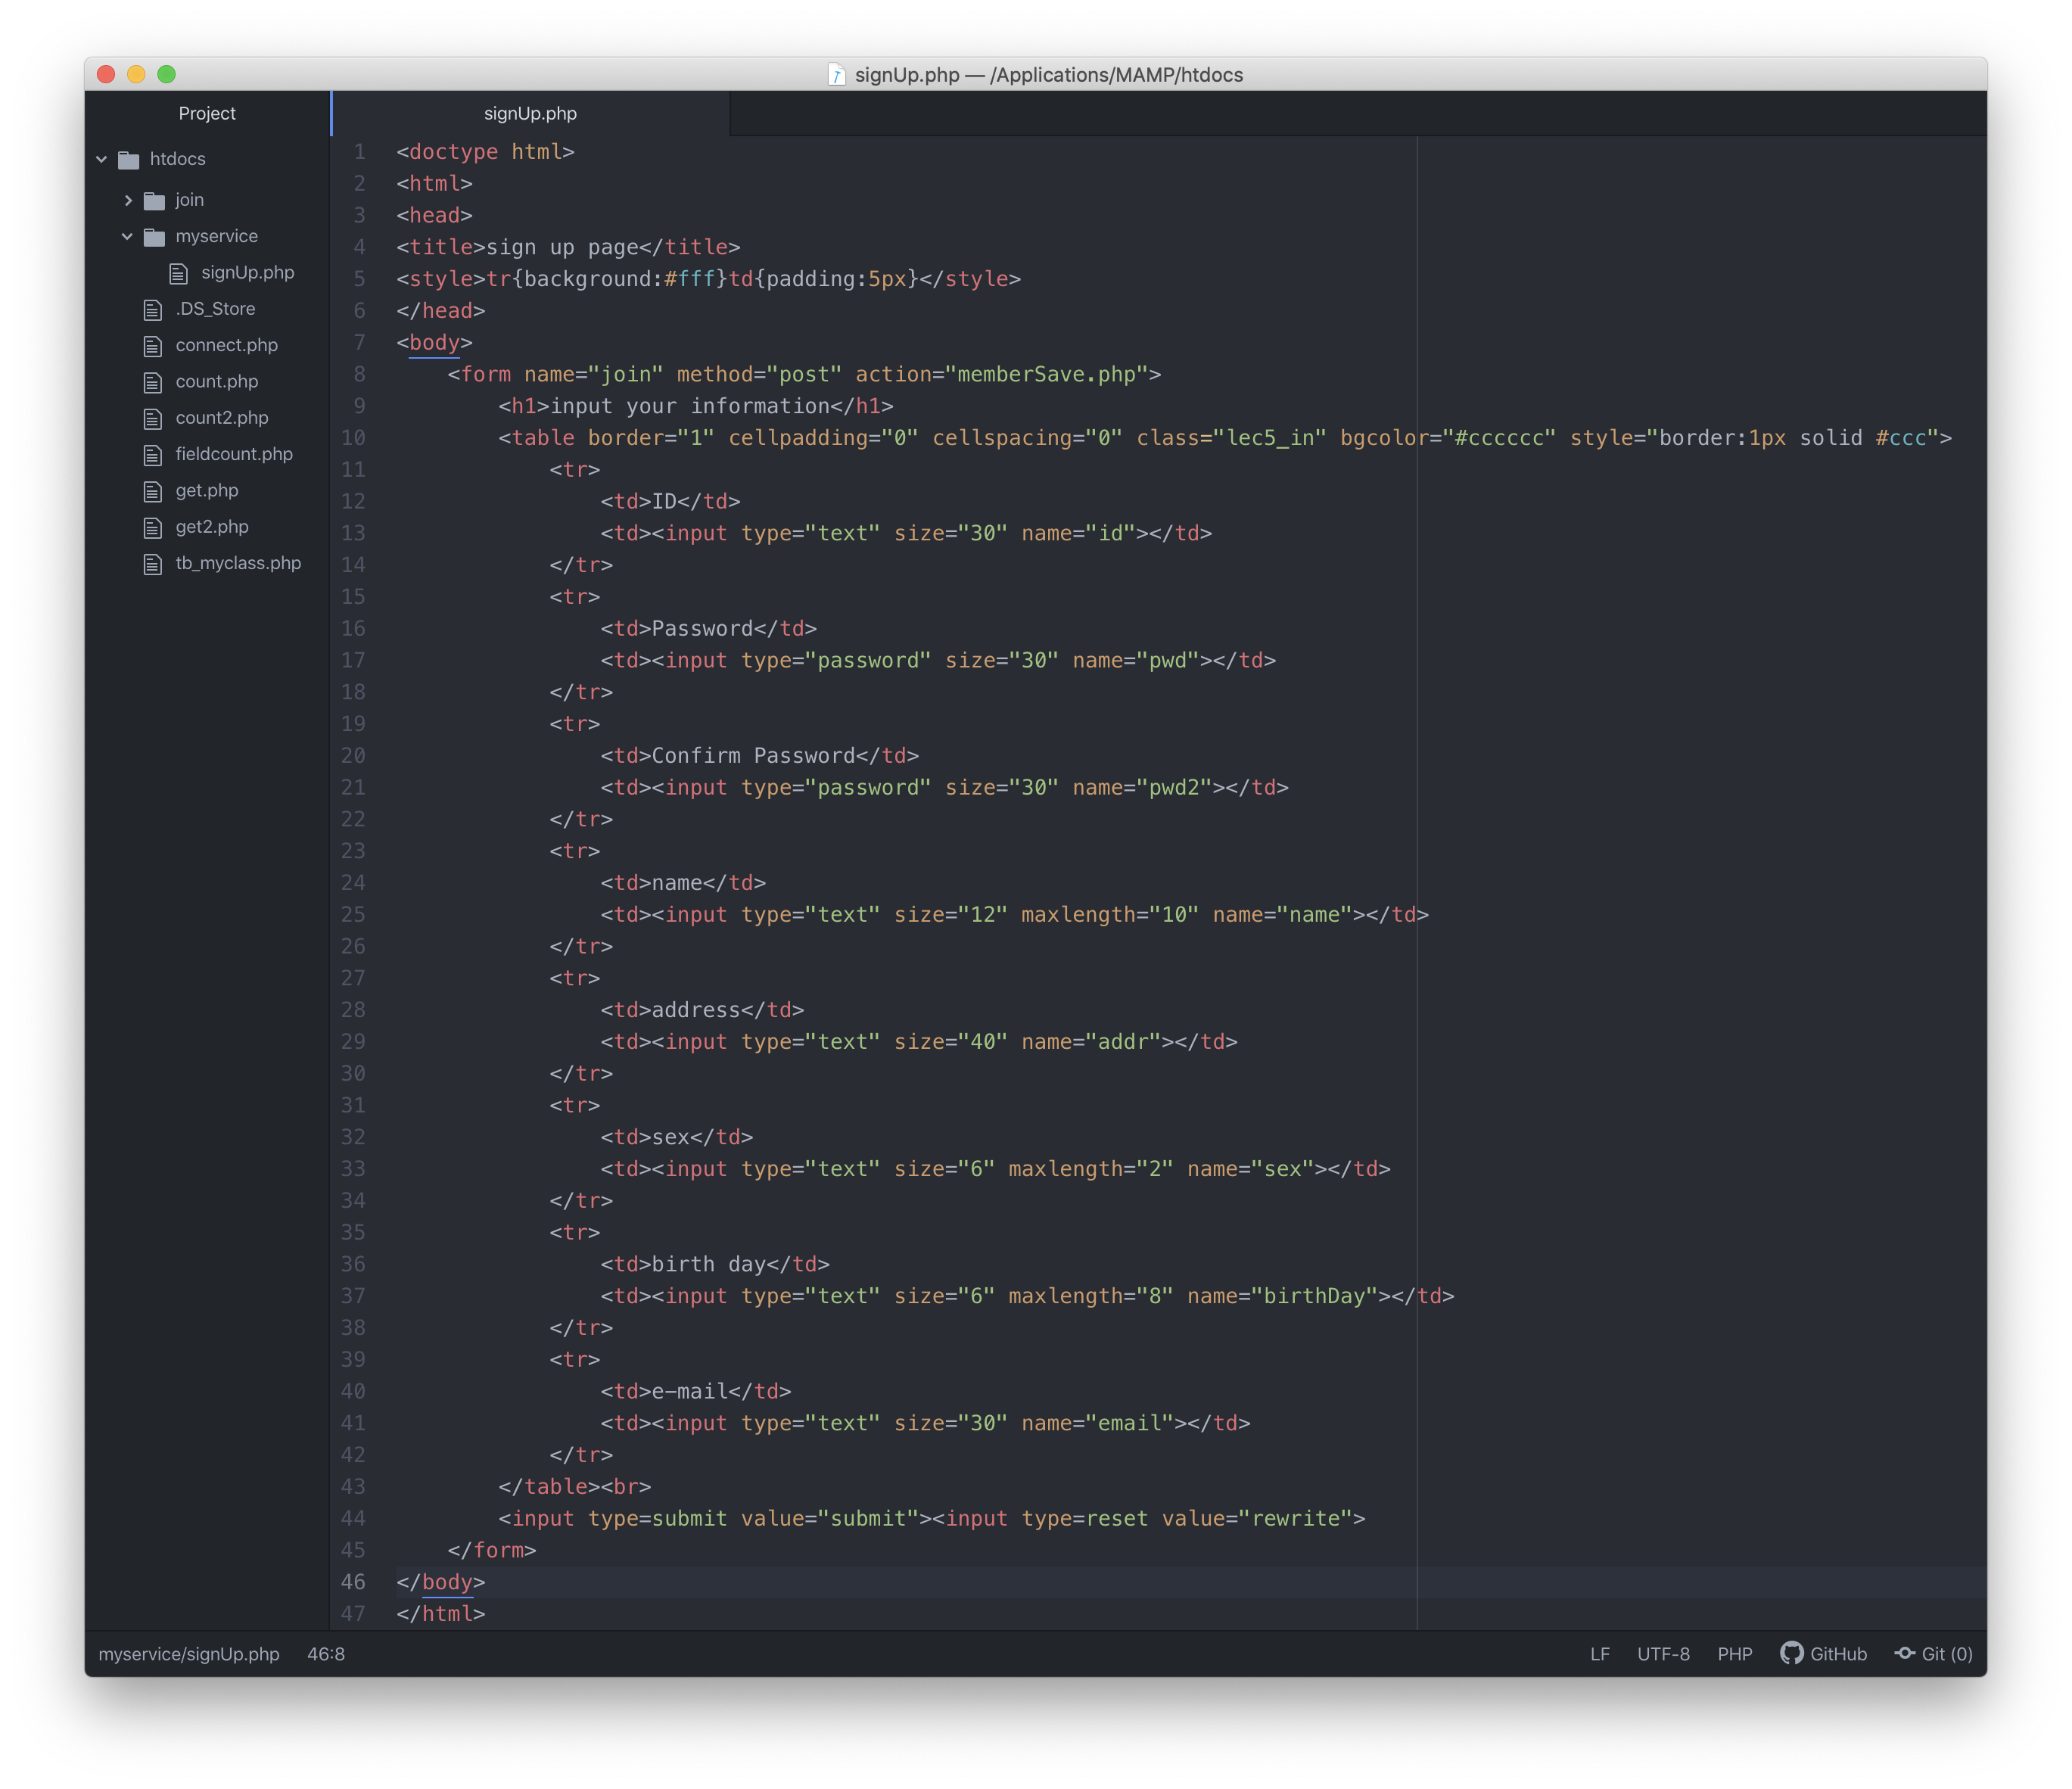
Below is the form source for the information. The page to input the value to the input tag. We have signed up for many sites with the following pages. Save the file name below as signUp.php. I will create myservice folder in the htdocs folder.
Creating myservice folder in htdocs
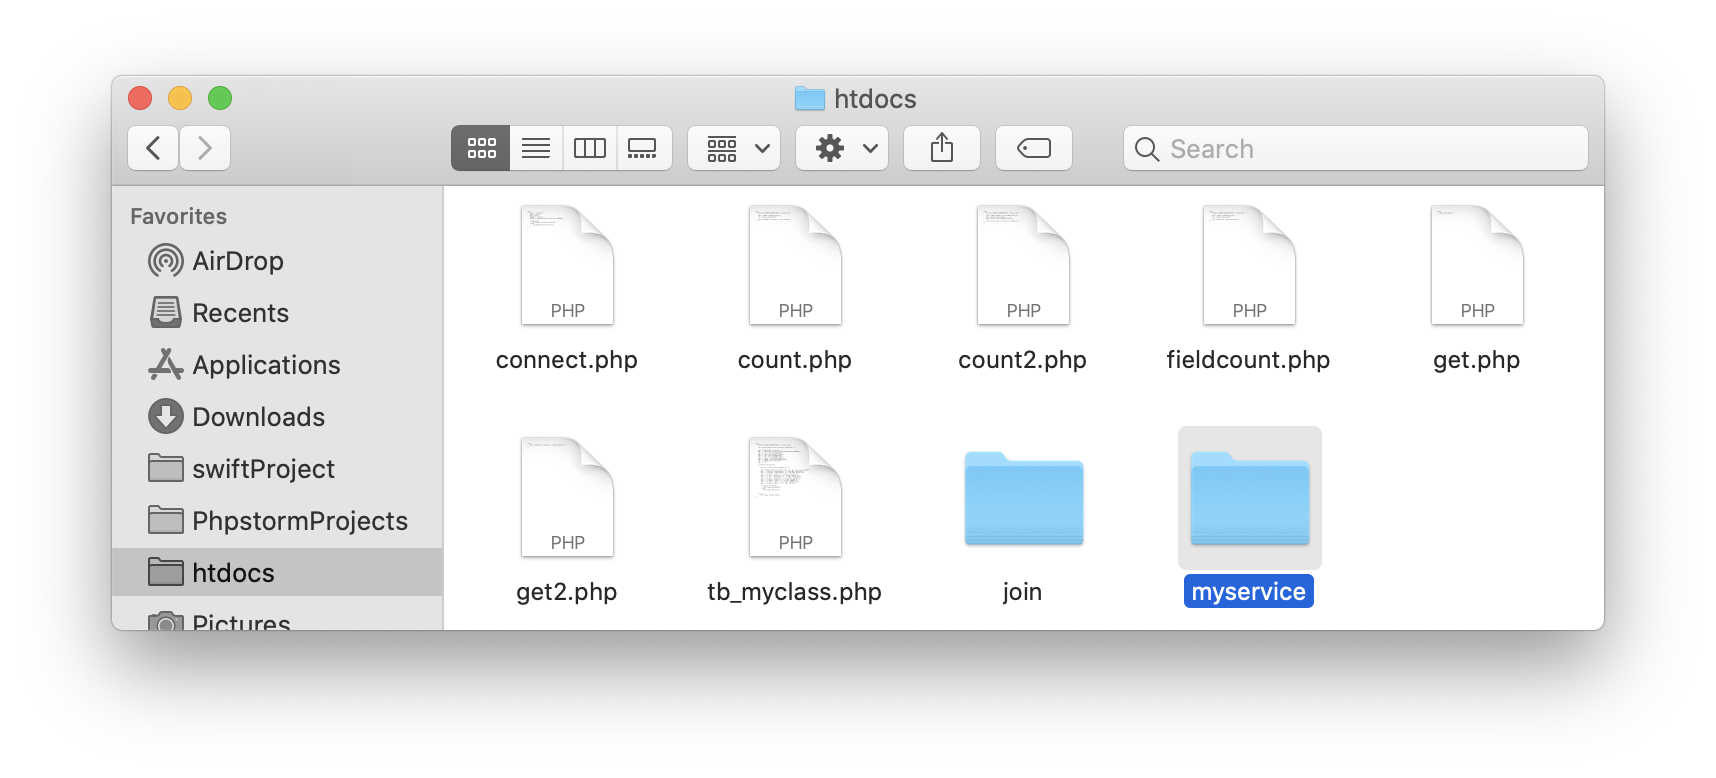
htdocs/myservice/signUp.php
<doctype html>
<html>
<head>
<title>sign up page</title>
<style>tr{background:#fff}td{padding:5px}</style>
</head>
<body>
    <form name="join" method="post" action="memberSave.php">
        <h1>input your information</h1>
        <table border="1" cellpadding="0" cellspacing="0" class="lec5_in" bgcolor="#cccccc" style="border:1px solid #ccc">
            <tr>
                <td>ID</td>
                <td><input type="text" size="30" name="id"></td>
            </tr>
            <tr>
                <td>Password</td>
                <td><input type="password" size="30" name="pwd"></td>
            </tr>
            <tr>
                <td>Confirm Password</td>
                <td><input type="password" size="30" name="pwd2"></td>
            </tr>
            <tr>
                <td>name</td>
                <td><input type="text" size="12" maxlength="10" name="name"></td>
            </tr>
            <tr>
                <td>address</td>
                <td><input type="text" size="40" name="addr"></td>
            </tr>
            <tr>
                <td>sex</td>
                <td><input type="text" size="6" maxlength="2" name="sex"></td>
            </tr>
            <tr>
                <td>birth day</td>
                <td><input type="text" size="6" maxlength="8" name="birthDay"></td>
            </tr>
            <tr>
                <td>e-mail</td>
                <td><input type="text" size="30" name="email"></td>
            </tr>
        </table><br>
        <input type=submit value="submit"><input type=reset value="rewrite">
    </form>
</body>
</html>
atom
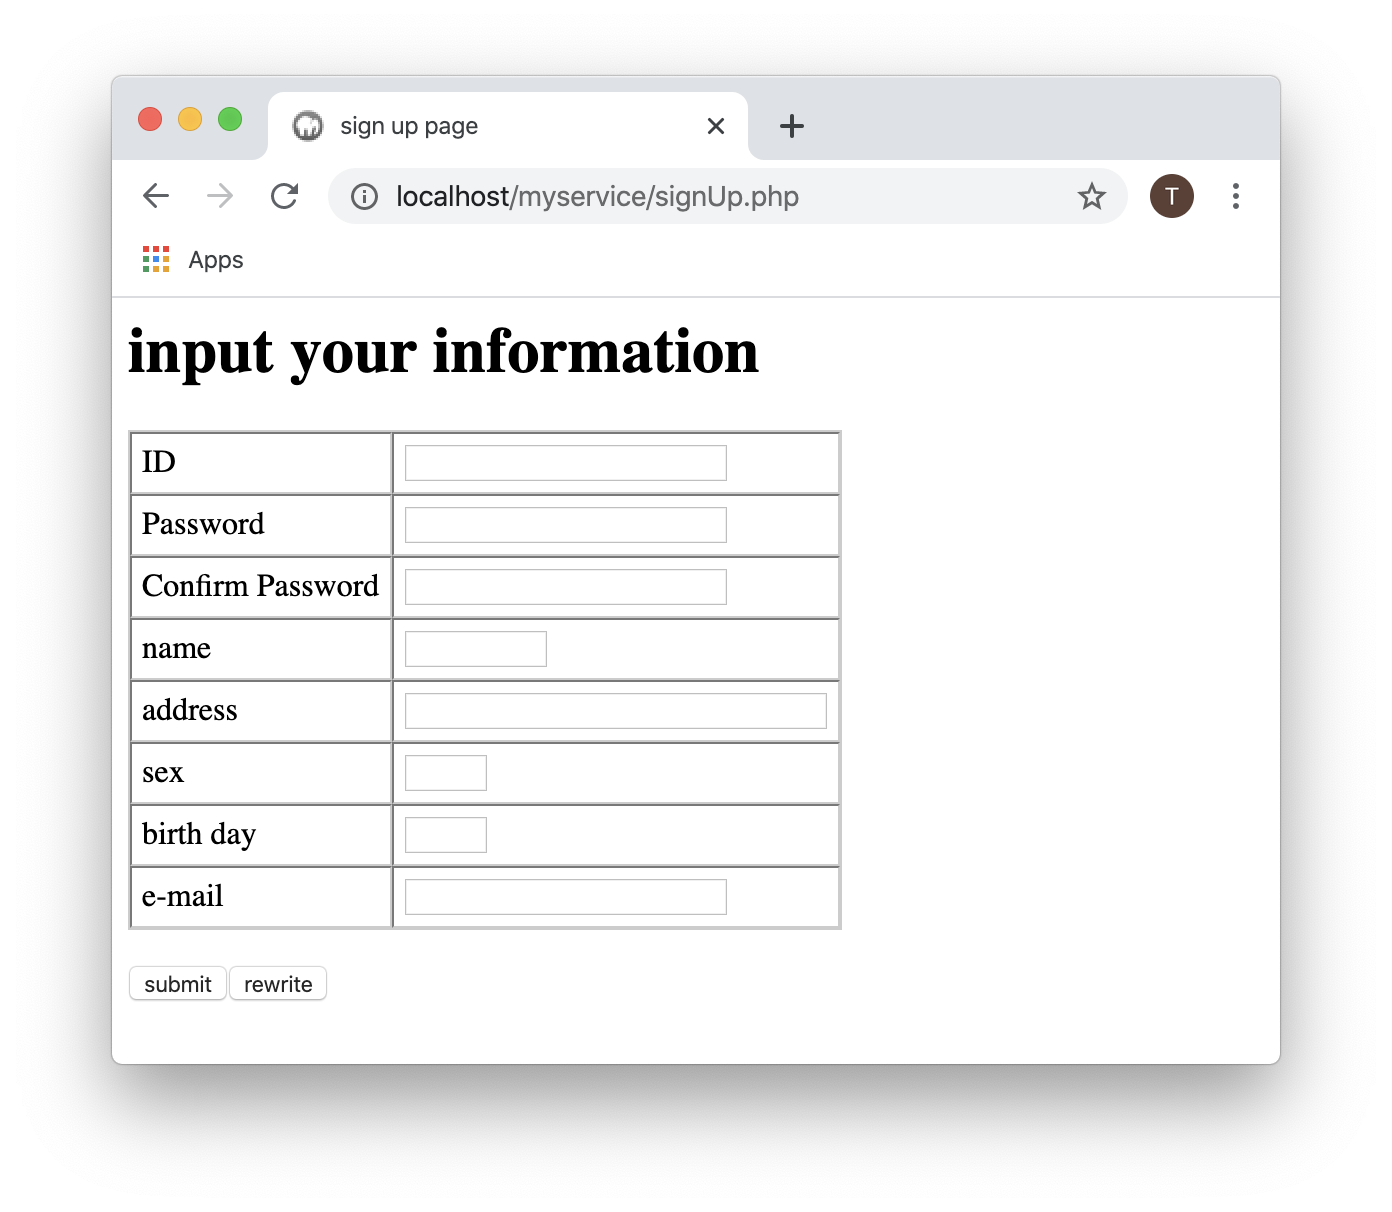
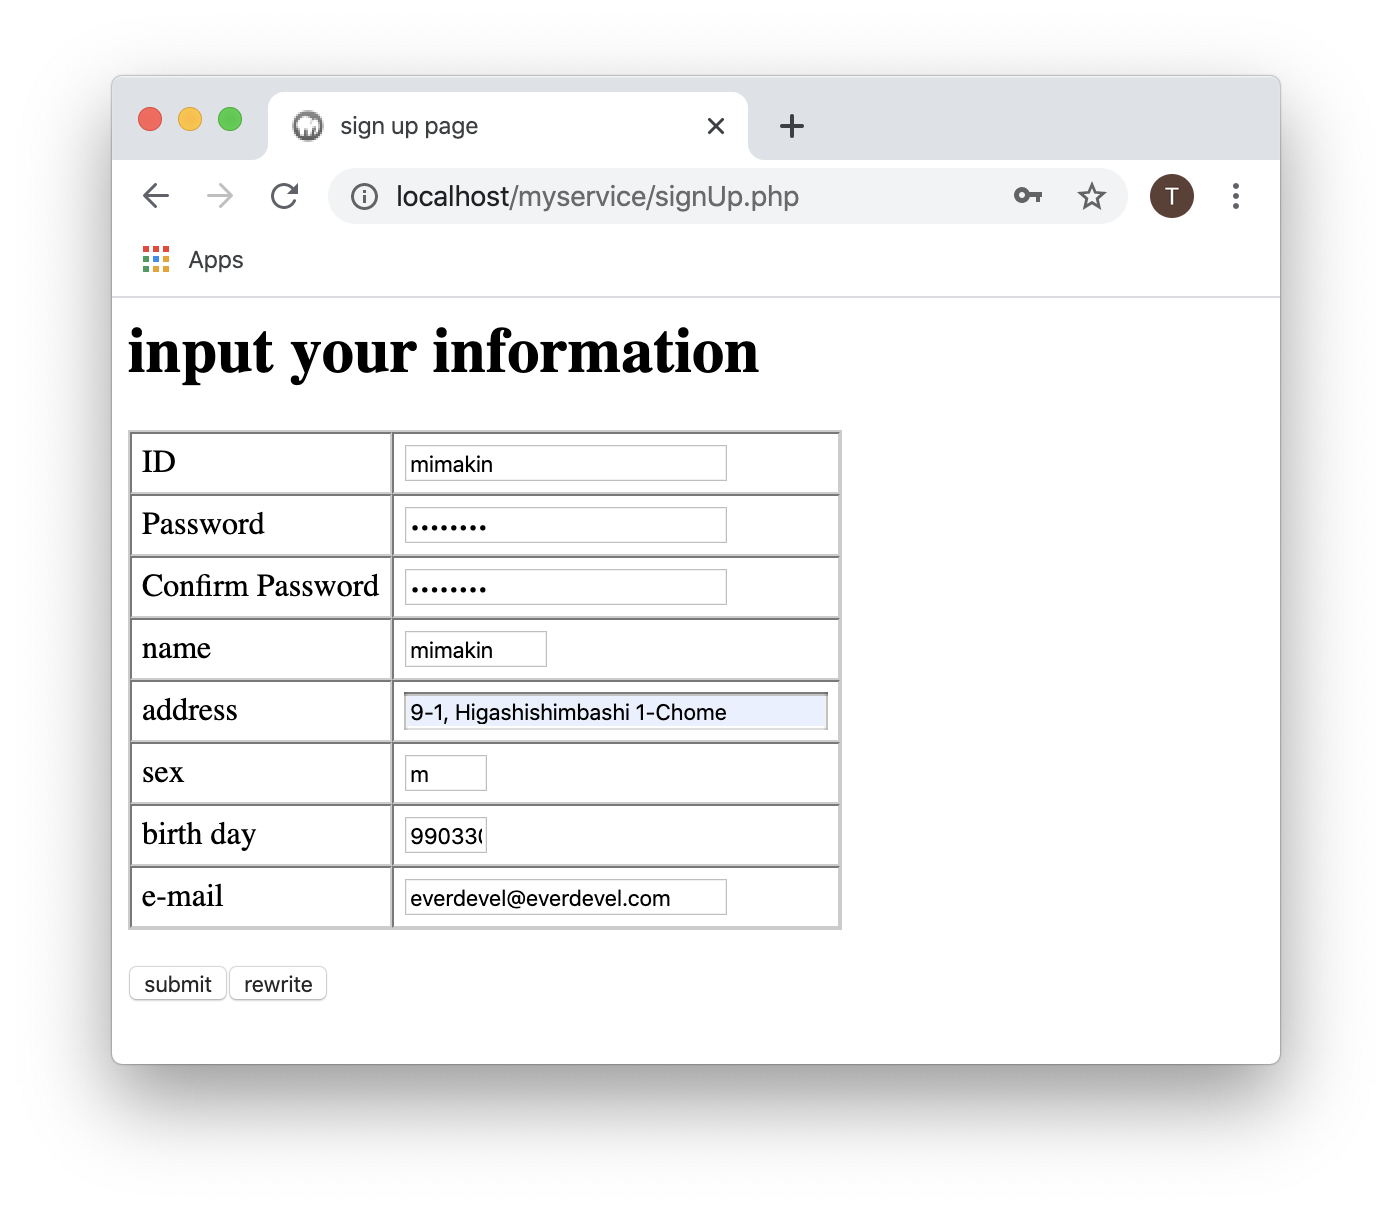
When you run it, the following registration form is displayed. Value You can enter any value.
We entered action = "memberSave.php" in the form tag.
When we enter values in the registration form, they are passed to memberSave.php in POST.
Press submit to go to memberSave.php. But you will come to a missing page? Naturally, the next page is not written.
Let's create a memberSave.php file so that the above information can be saved to the database.
htdocs/myservice/memberSave.php
<?php
    include $_SERVER['DOCUMENT_ROOT'].'/myservice/connect/dbConnect.php';

    $id = $_POST['id'];
    $password = sha1($_POST['pwd']);
    $password2 = $_POST['pwd2'];
    $name = $_POST['name'];
    $address = $_POST['addr'];
    $sex = $_POST['sex'];
    $birthDay = $_POST['birthDay'];
    $email = $_POST['email'];

    $sql = "INSERT INTO member(id, pwd, name, addr, sex, birthDay, email) ";
    $sql .= "VALUES('{$id}','{$password}','{$name}','{$address}','{$sex}','{$birthDay}','{$email}')";

    if($mysqli->query($sql)){
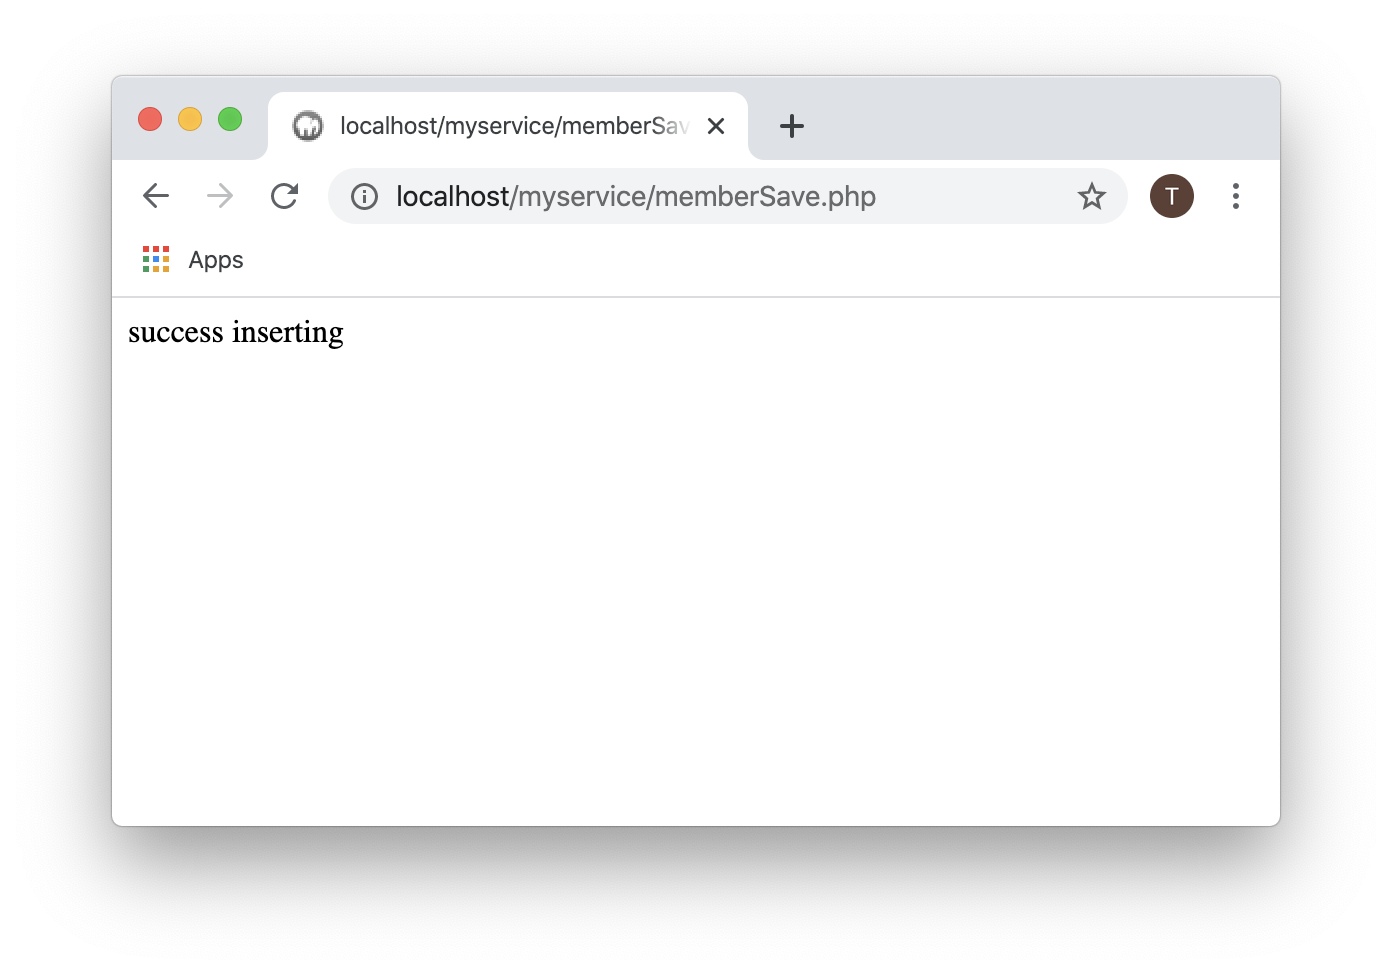
        echo 'success inserting';
    }else{
        echo 'fail to insert sql';
    }
?>
atom
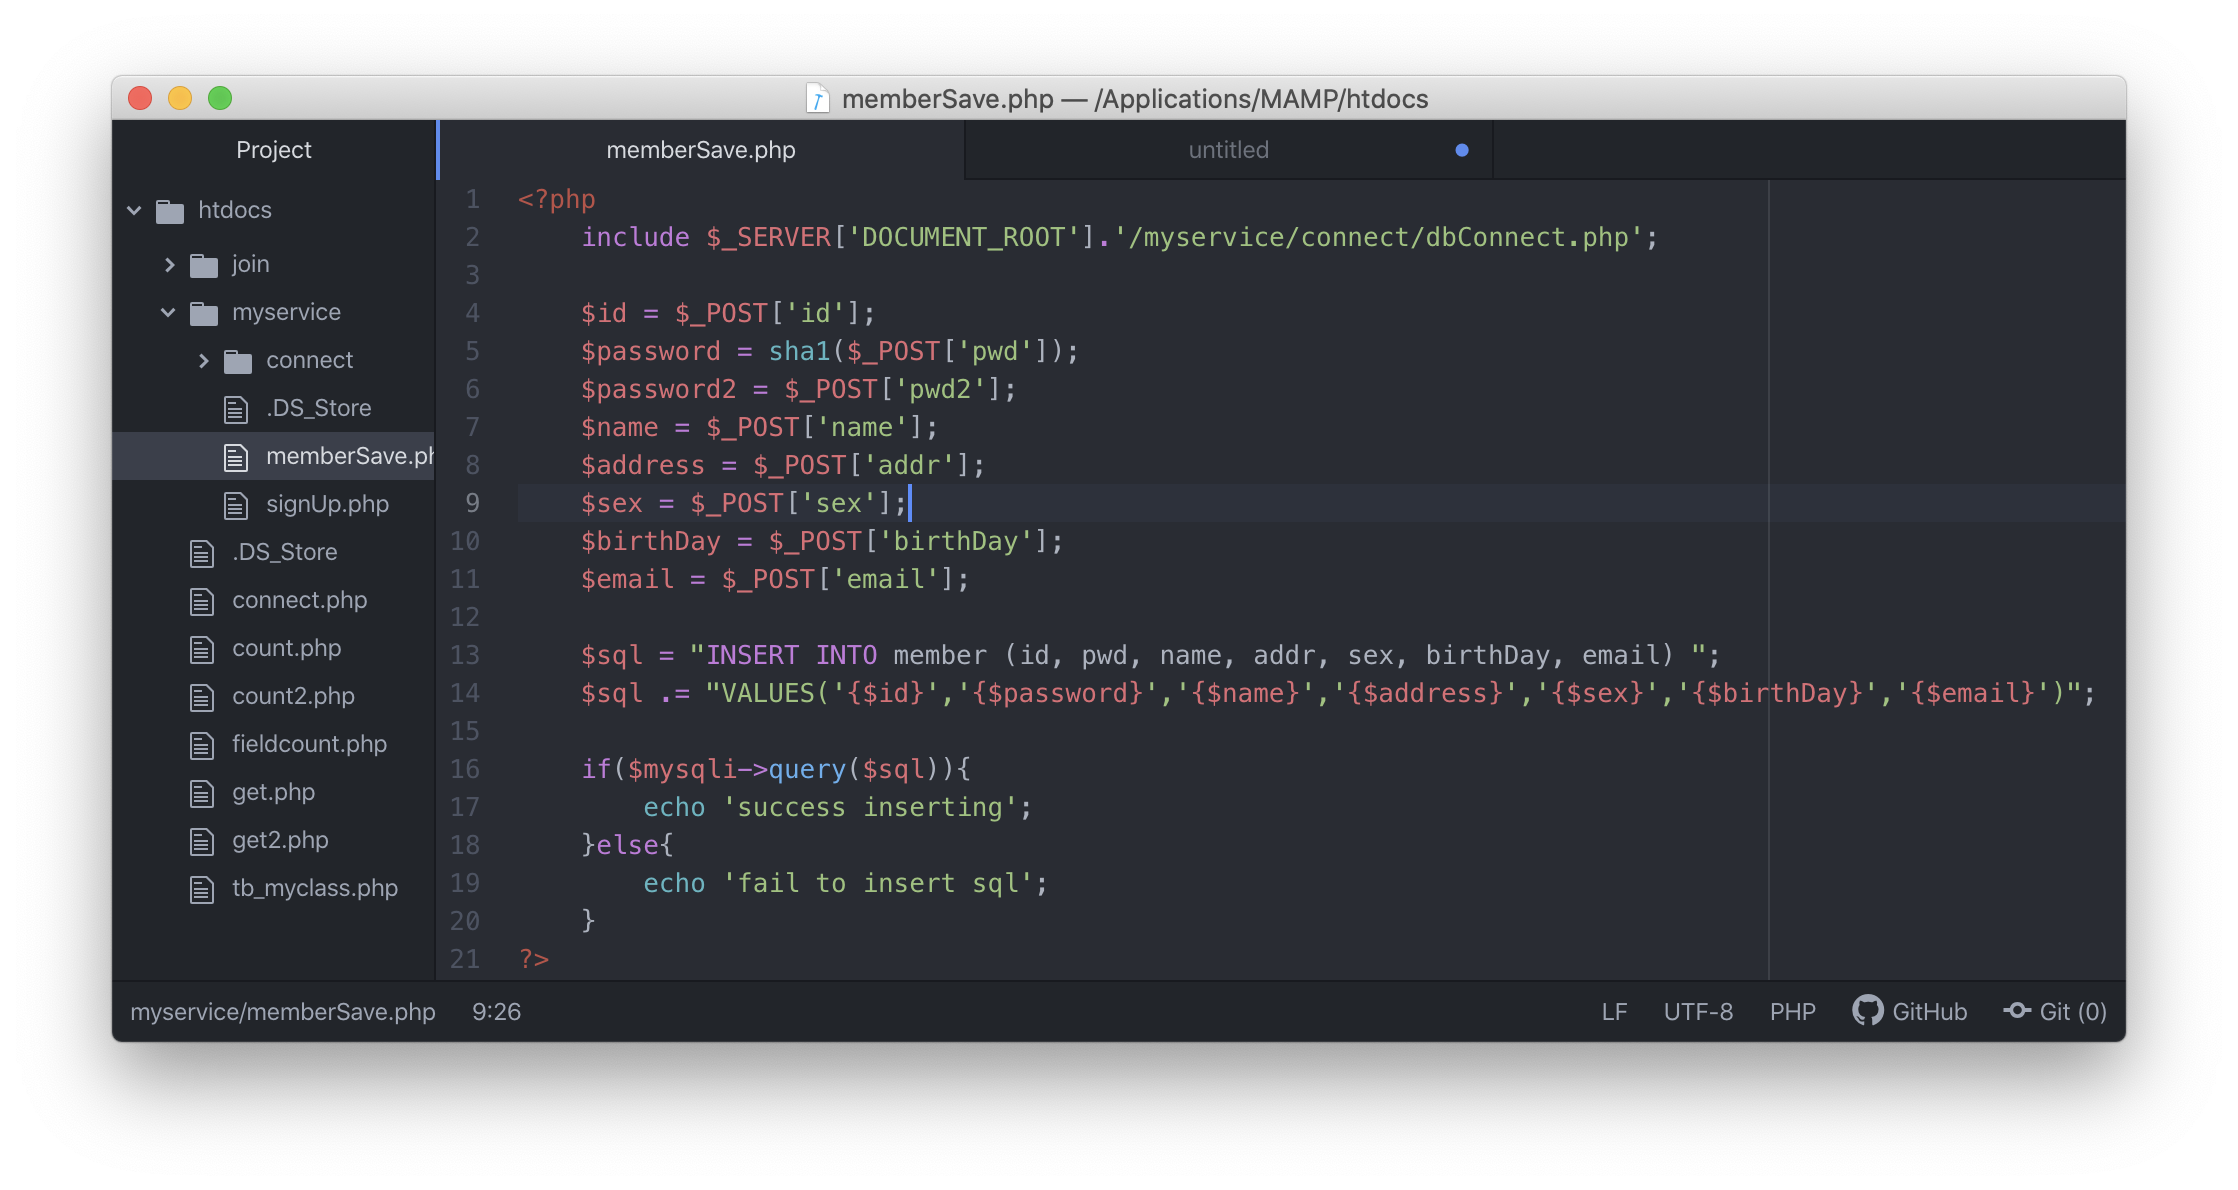
and then create database connection file.
first create connect folder in myservice folder
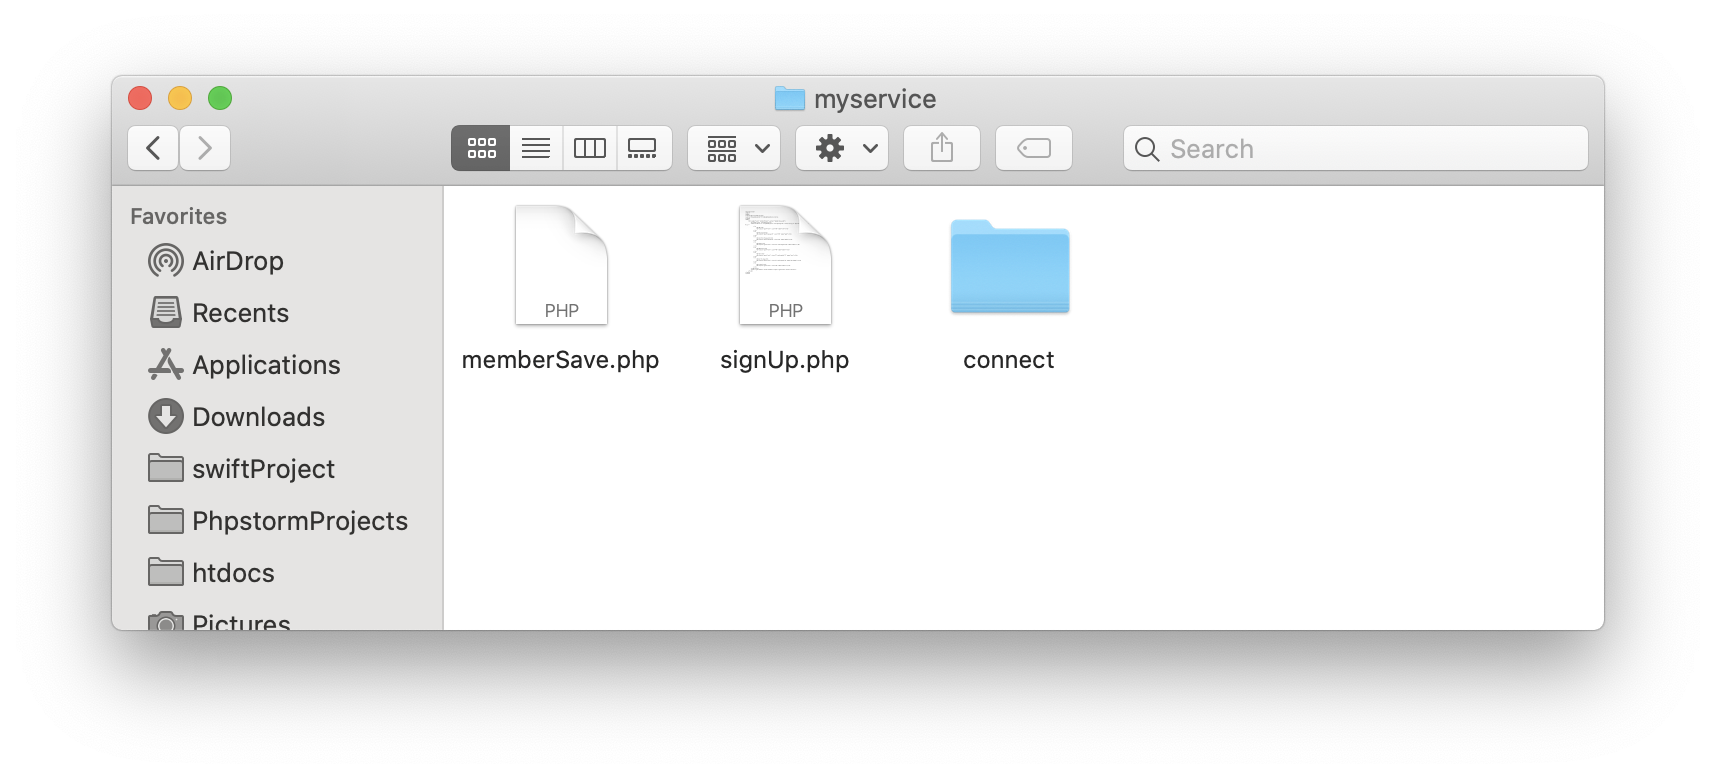
htdocs/myservice/connect/dbConnect.php
<?php
    $host = 'localhost';
    $user = 'root';
    $pw = 'root';
    $dbName = 'myservice';
    $mysqli = new mysqli($host, $user, $pw, $dbName);
?>
atom
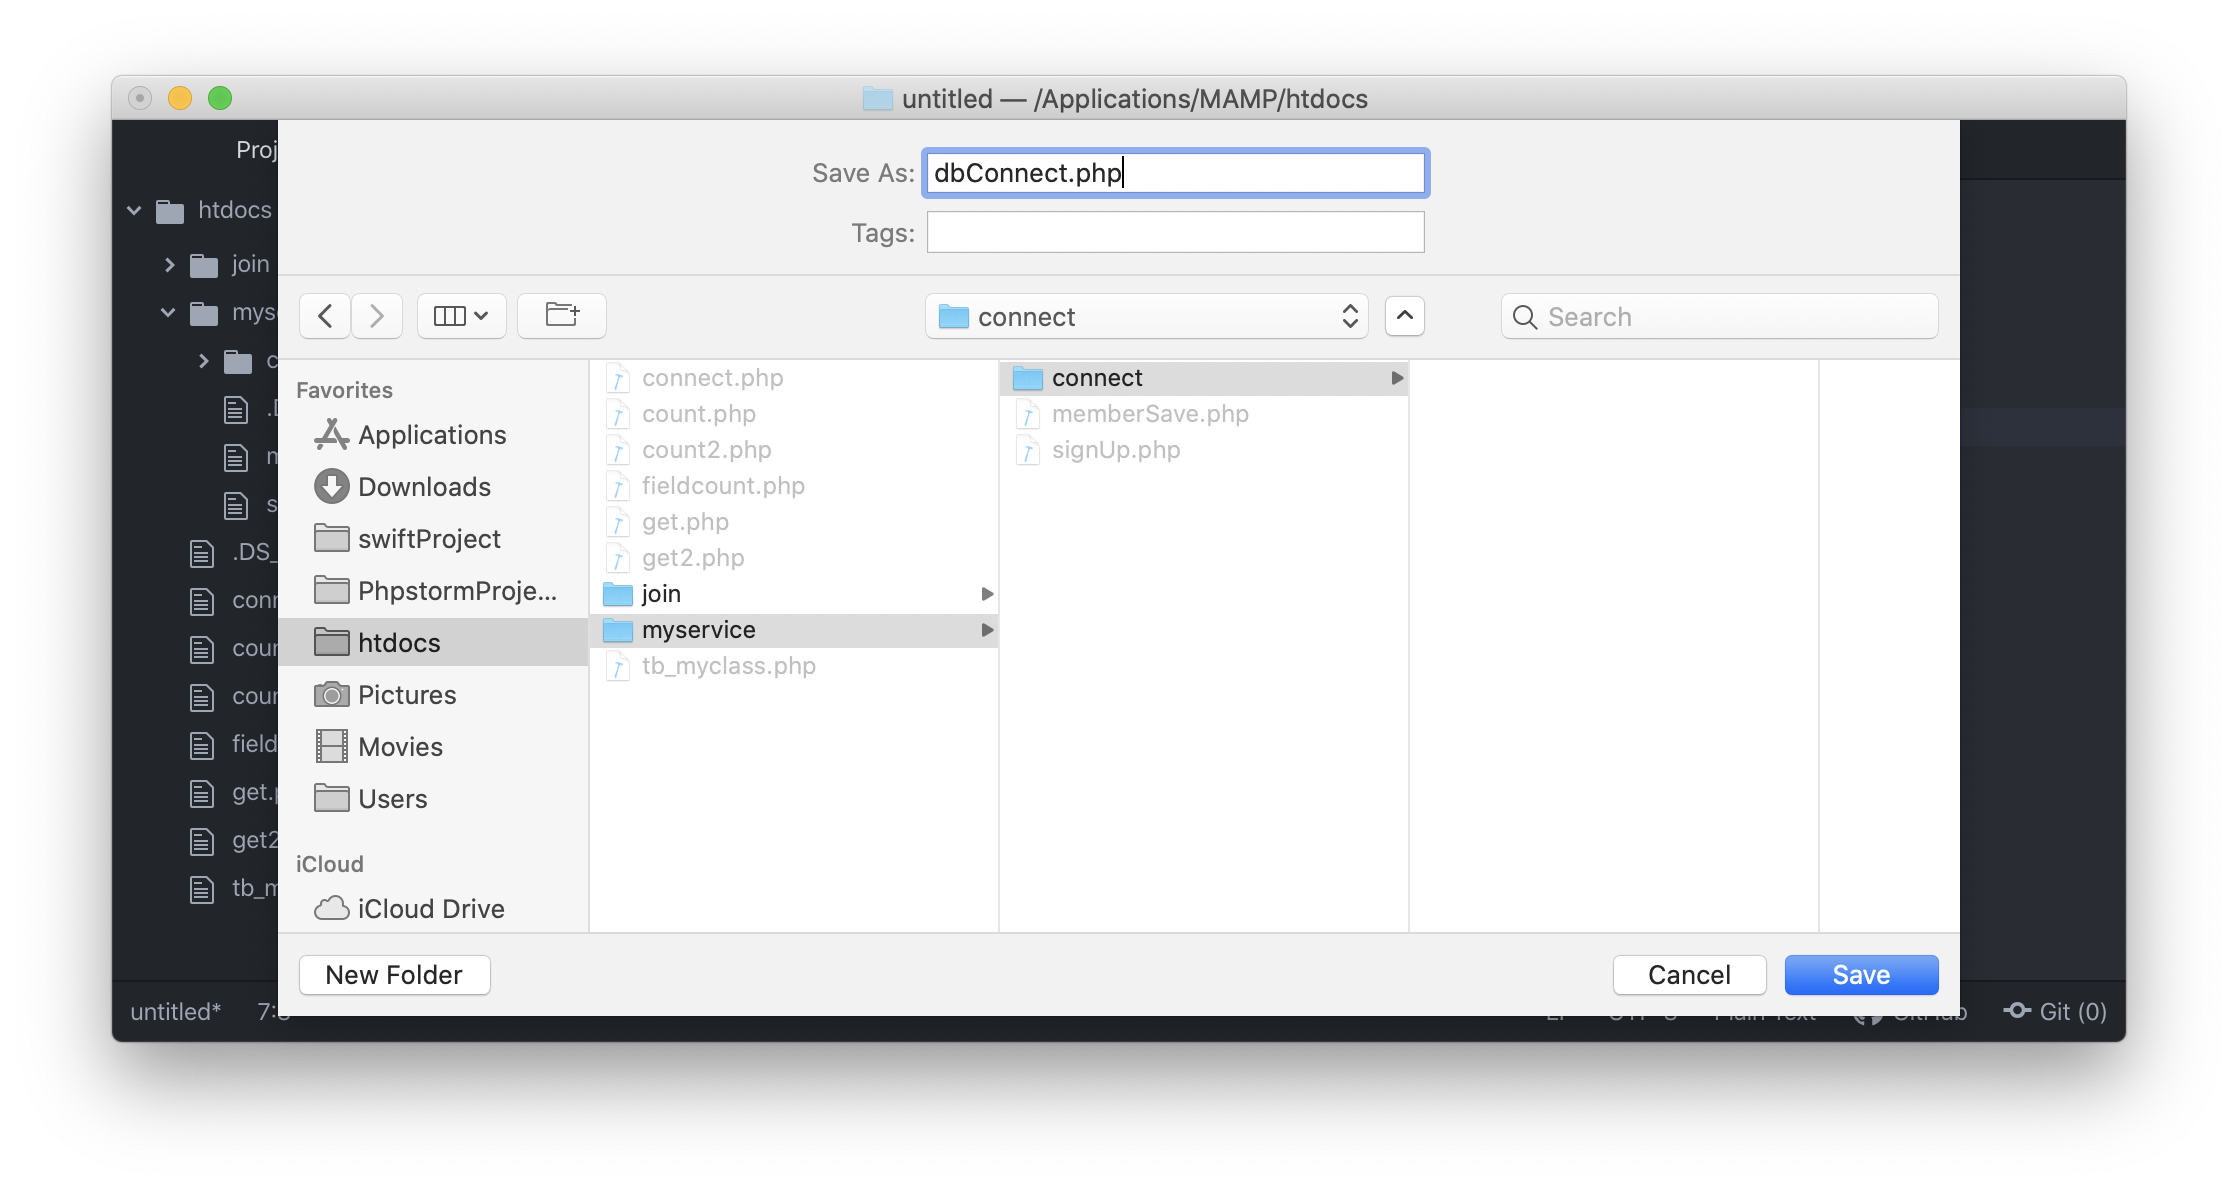
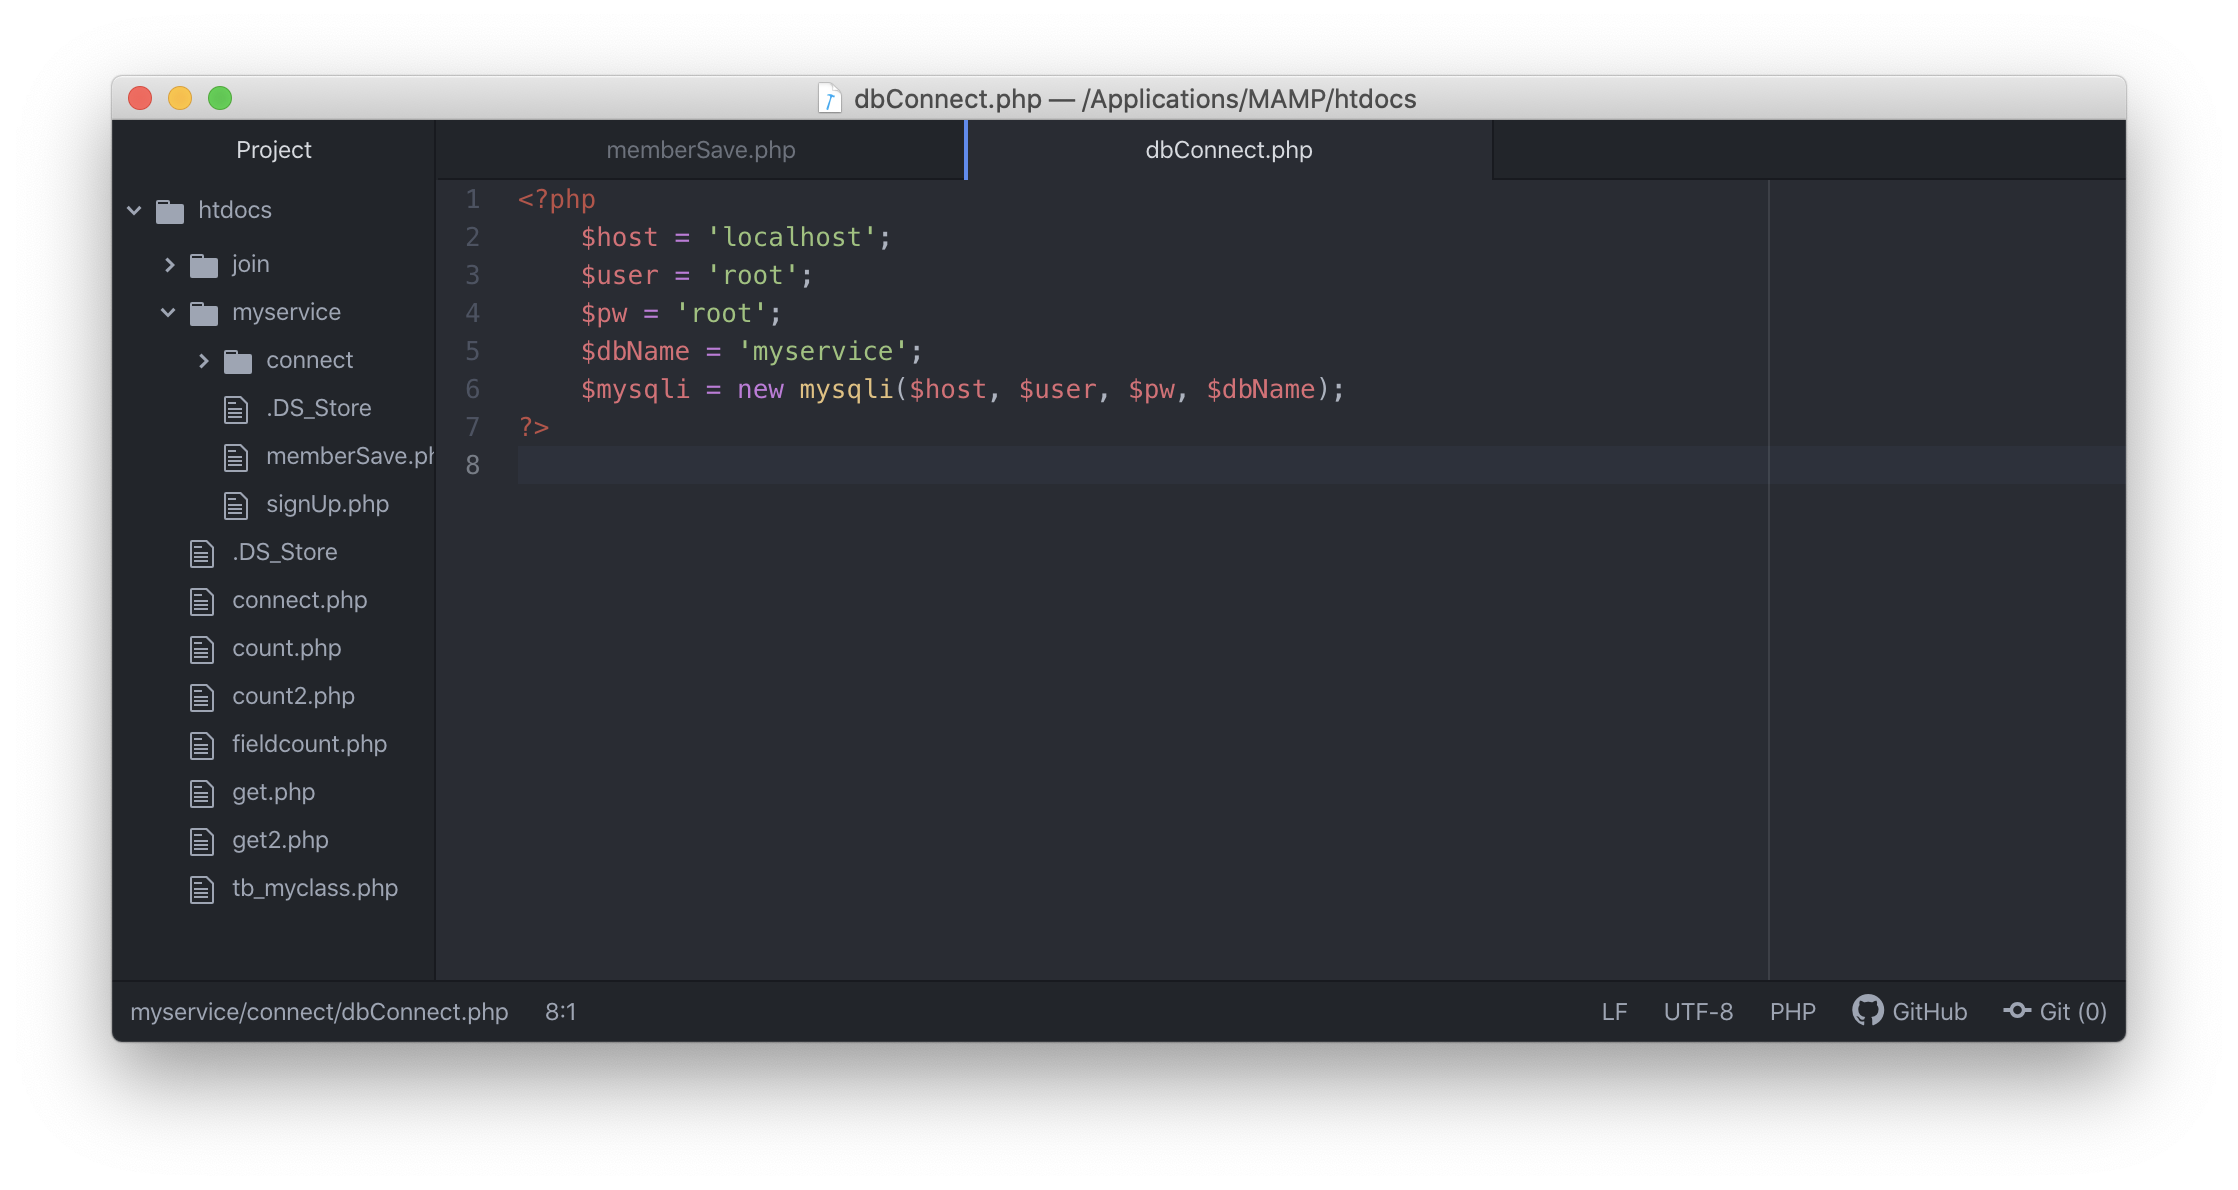
At the top is the database connection information.
In fact, save to another file saves the db connection information and loads it with an include statement when needed, but for now it's a taste.
$password = sha1($_POST['pwd']); Wrap your password in a function called sha1. If your password is entered in the database, it will be a big deal.
Therefore, it is encrypted using sha1 encryption function.
This way, it's safe to know without an administrator
I tried to put the member information in the database like this.
Now let's have a taste and let's try to sign up and log in to the project.
Oh! Password and Confirm Password Did you receive two password values?
Originally there should also be a source that checks to see if they match, but I passed it next time.
let's test it.
url is http://localhost/myservice/signUp.php
input data
confirm result
Anyway, I learned how to put membership information into DB ... Next, let's study file upload, file opening, and so on.


