Setting margins

You can see the margin based on the blue box in the figure above. You do not have to worry about padding for now, because it will be covered lessons to come.
There is a way to set the outer and inner margins. Let's start with the margin setting the outer margin.
<!DOCTYPE html>
<html>
<head>
<meta charset="utf-8" />
<title>Setting margins</title>
<style>
    div{background-color:skyblue;border:2px groove hotpink;border-radius:10px}
</style>
</head>
<body>
<div>
    <p>
        Hello, my name is David, Thank you for studying web in my homepage.
    </p>
</div>
</body>
</html>
In the above results, the text and box are stuck to the left, so it looks not so good.
Now let's set the margin for the p tag.
So let's move the text to the right.
p {margin: Top margin Right margin Right margin Left margin} (Clockwise)

You can do as above You can also process only the parts you need.
p{margin-left:value}
The attributes for the direction are top, top, right, bottom, bottom, left,

It can be used as margin-top, margin-right, margin-bottom, margin-left.
 You can give the value to the numeric value, for example, 3 px
So let's set the left margin to 5px on the p tag.
p {margin: 0005px} or p {margin-left: 5px}
You can do it the way you want. When you practice, you will know which of the two is easier for you.
In other words, if you only want to set the left margin, you can do “margin-left” tag, and if you want to set both top and both, you should use “margin” tag.
For example, if you want to set the left, bottom, and top margins, use the "margin" tag instead of "margin-left: 10px; margin-right: 10px; margin- 10px 0 10px ".
<!DOCTYPE html>
<html>
<head>
<meta charset="utf-8" />
<title>Setting Margins</title>
<style>
    div{background-color:skyblue;border:2px groove hotpink;border-radius:10px}
    p{margin-left:5px}
</style>
</head>
<body>
<div>
    <p>
        Hello, my name is David, Thank you for studying web in my homepage.
    </p>
</div>
</body>
</html>

Look? It looks so much better with margins. If you need more left space, you can add more px value.
Now, let's control the size of the div before setting the padding.
Setting size
Setting size is simple. To set the horizontal value, set the width. To set the vertical value, set the height.
For example, if you set the width to 300px and the height to 200px, you can set it as above. Let's apply the size.
위와같이 설정하면 됩니다. 그럼 크기를 적용해봅시다.
<!DOCTYPE html>
<html>
<head>
<meta charset="utf-8" />
<title>Setting Margins</title>
<style>
    div{width:300px;height:200px;background-color:skyblue;border:2px groove #ff0000;border-radius:10px}<br />
    p{margin-left:5px}
</style>
</head>
<body>
<div>
    <p>
        Hello, my name is David, Thank you for studying web in my homepage.
    </p>
</div>
</body>
</html>

The size is applied as above.
The p tag is also wrapped according to its size. The size of the p tag is also automatically adjusted for the outer div size.
Setting padding
If you would like to control padding, let’s do it like follow.
Based on the blue box in the image below

The way to control padding is exactly same as margin.
    p {padding: value below the value to the right of the value to the left of the value} (clockwise)
    You can do as above
    You can also process only the parts you need.
    p {padding-left: value}
    The attributes for the direction are top, top, right, bottom, bottom, left,
    You can use padding-top, padding-right, padding-bottom, and padding-left.
    The value is px to the numeric value.
<!DOCTYPE html>
<html>
<head>
<meta charset="utf-8" />
<title>Setting margin</title>
<style>
div{background-color:skyblue;border:2px groove #ff0000;border-radius:10px}<br />
</style>
</head>
<body>
<div>
    <p>
        Hello, my name is David, Thank you for studying web in my homepage.
    </p>
</div>
</body>
</html>
This time, you should target the div tag instead of the p tag. The reason is that we set the padding of the div tag.
Then set the 5px as before.
So let's set the left margin to 5px on the p tag.
Let's test the source below.
<!DOCTYPE html>
<html>
<head>
<meta charset="utf-8" />
<title>setting padding</title>
<style>
    div{background-color:skyblue;border:2px groove #ff0000;border-radius:10px;padding-left:5px}
</style>
</head>
<body>
<div>
    <p>
        Hello, my name is David, Thank you for studying web in my homepage.
    </p>
</div>
</body>
</html>
The results are as follows:

If you set the size (height, width) in the div, if you set padding, the size of the div will be different.
That, if I set the 300px for width and 40px for padding, the total width of div will be 380px because each side is increased by 40px (80px in total!)
Let's test it!
<!DOCTYPE html>
<html>
<head>
<meta charset="utf-8" />
<title>Setting padding</title>
<style>
    div{width:300px;height:100px;background-color:skyblue;border:2px groove #ff0000;border-radius:10px}
</style>
</head>
<body>
<div>
</div>
</body>
</html>
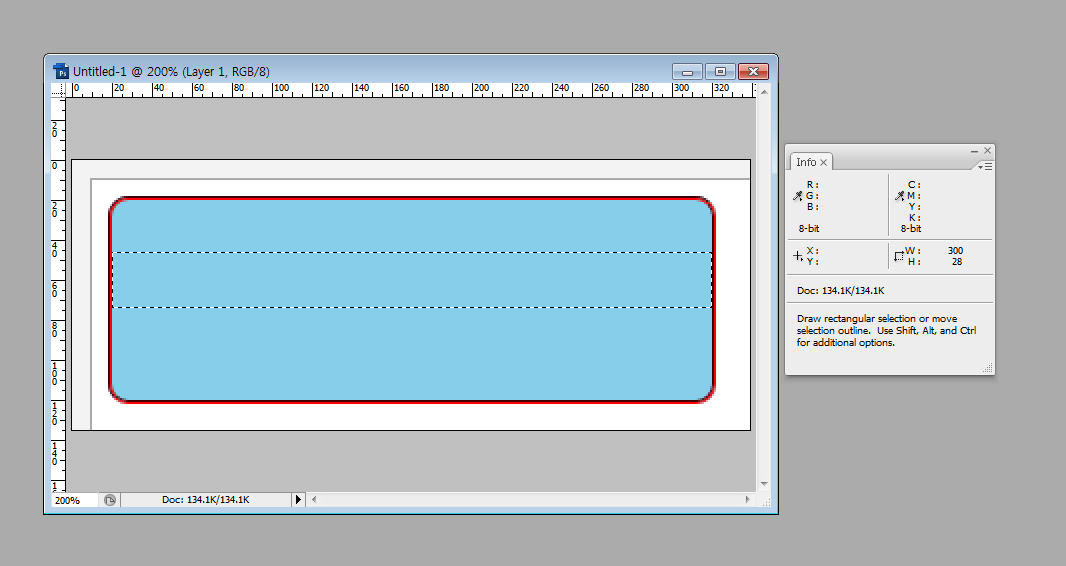
From the right w value below, you will see a mark of 300.

Let's apply padding: 50px this time.
<!DOCTYPE html>
<html>
<head>
<meta charset="utf-8" />
<title>Setting padding</title>
<style>
div{width:300px;height:100px;background-color:skyblue;border:2px groove #ff0000;border-radius:10px;padding:50px}
</style>
</head>
<body>
<div>
</div>
</body>
</html>
The value of w changed to 400 as shown below. Consult it and decorate the div!


